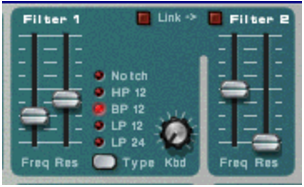
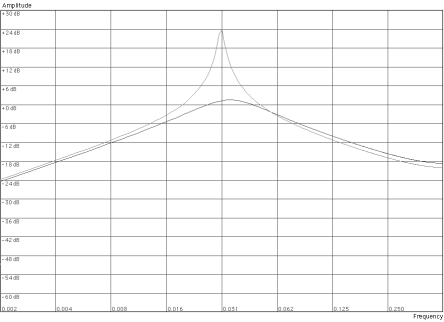
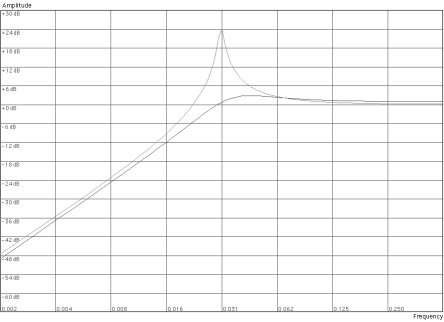
A combination of a multimode filter and a second, linkable, lowpass filter allows for complex filtering effects. See “The Filter Section”.
|
|
|
| Waveform
|
|
|
|
When Frequency Modulation (FM - see “Frequency Modulation (FM)”) or Ring Modulation (see “Ring Modulation”) is used.
|
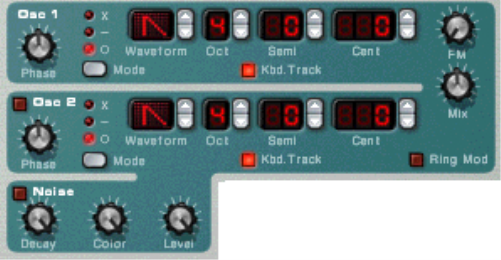
A unique feature of the Subtractor oscillators is the ability to create an extra waveform within one oscillator, to offset the phase of that extra waveform, and to modulate this phase offset. By subtracting or multiplying a waveform with a phase offset copy of itself, very complex waveforms can be created. Sounds complicated? Well, the theory behind it might be, but from a user perspective it is just a method of generating new waveforms from existing waveforms.
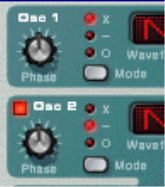
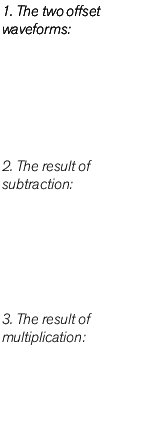
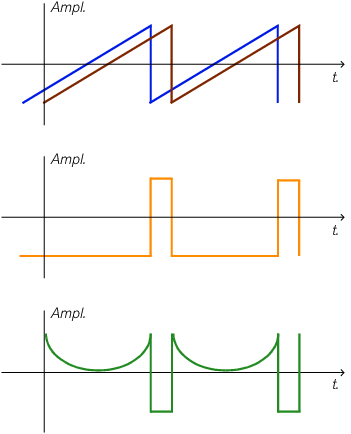
When phase offset modulation is activated, the oscillator creates a second waveform of the same shape and offsets it by the amount set with the Phase knob. Depending on the selected mode, Subtractor then either subtracts or multiplies the two waveforms with each other. The resulting waveforms can be seen in the illustration below.
|
•
|
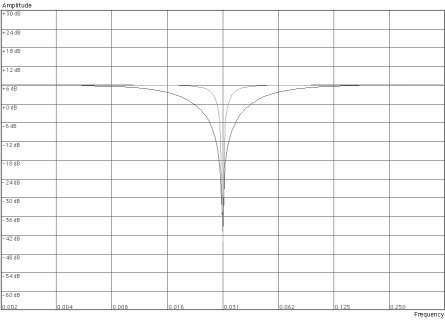
A notch filter (or band reject filter) could be described as the opposite of a bandpass filter. It cuts off frequencies in a narrow midrange band, letting the frequencies below and above through. On its own, a notch filter doesn’t really alter the timbre in any dramatic way, simply because most frequencies are let through. However, by combining a notch filter with a lowpass filter (using Filter 2 - see “Filter 2”), more musically useful filter characteristics can be created. Such a filter combination can produce soft timbres that still sound “clear”. The effect is especially noticeable with low resonance (see “Resonance”) settings.
|
|
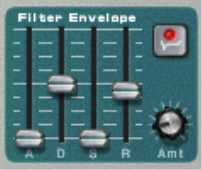
Note that the Filter Frequency parameter is usually controlled by the Filter Envelope (see “Filter Envelope”) as well. Changing the Filter Frequency with the Freq slider may therefore not produce the expected result.
|
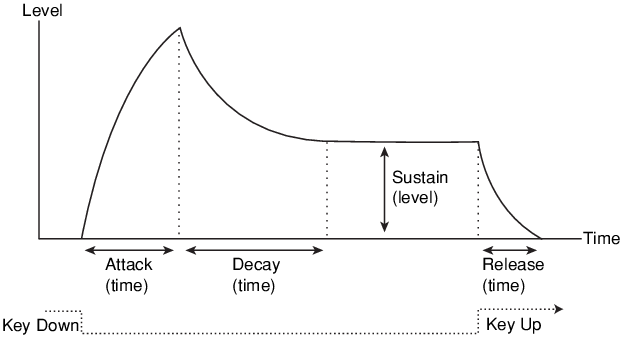
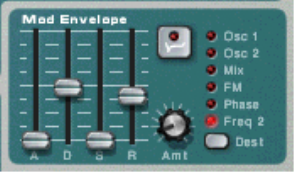
But often a combination of Decay and Sustain is used to generate envelopes that rise up to the maximum value, then gradually decreases to finally land to rest on a level somewhere in-between zero and maximum. Note that Sustain represents a level, whereas the other envelope parameters represent times.
Finally, we have the Release parameter. This works just like the Decay parameter, except it determines the time it takes for the value to fall back to zero after releasing the key.
|
| Waveform
|
|
#Sync
#Rate
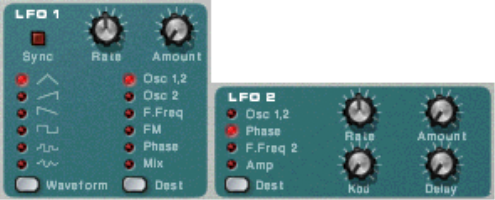
LFO 2 is polyphonic. This means that for every note you play, an independent LFO cycle is generated, whereas LFO 1 always modulates the destination parameter using the same “cycle”. This can be used to produce subtle cross-modulation effects, with several LFO cycles that “beat” against each other. This also enables LFO 2 to produce modulation rates that vary across the keyboard (see the “Keyboard Tracking” parameter below).
|
|
|
•
|
|
•
|
