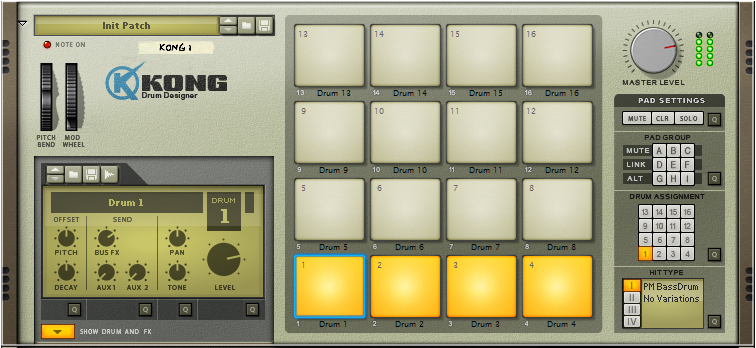
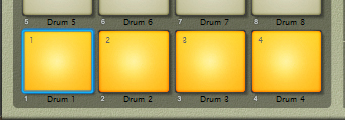
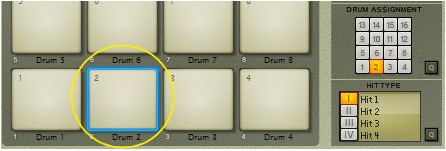
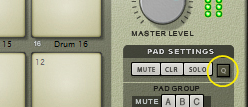
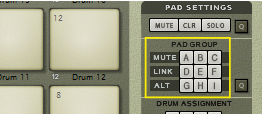
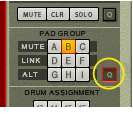
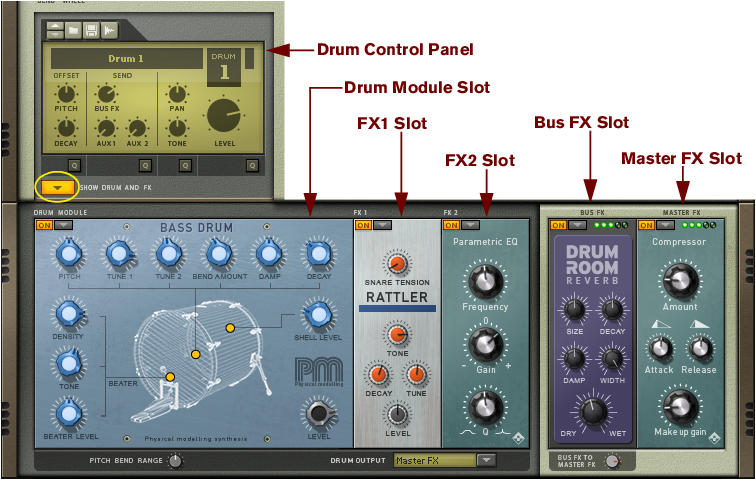
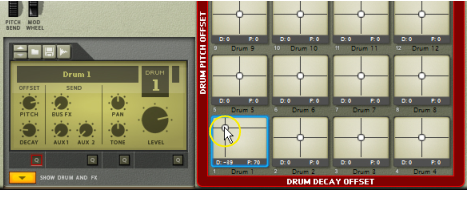
The pad section features 16 pads. Each of these pads can be assigned to a separate Drum sound. You can also choose to assign several pads to one and the same Drum sound - or to link pads so that one pad will trigger several other pads as well. To the right of the pads is the Pad Settings area where you can control the pad assignments and behavior. See “Pad Settings”.
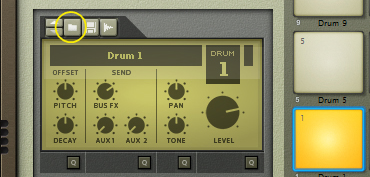
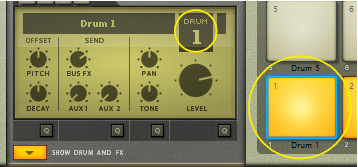
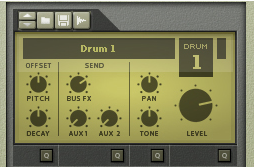
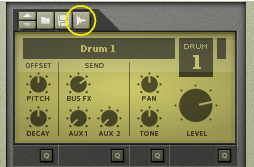
The Drum Control Panel at the bottom left of the panel shows the name and “macro parameter” settings for the selected pad in the pad section. From the Drum Control Panel you can also load and save Drum Patches as well as initiate sampling. See “The Drum Control Panel”.
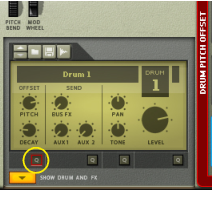
By clicking the Programmer button below at the bottom of the Drum Control Panel you can bring up the Drum and FX Section. Here is where you can edit your drum sounds and combine with various types of sound processors and FX. See “The Drum and FX section”.
As with the Combinator device, it is possible to customize the Kong front panel graphics with a user-designed skin. In the Reason Download section at the Reason Studios website is the “Combi and Kong Backdrop Templates” zip file, which can be used as starting point for designing your own Kong panel graphics. See the “Read Me.txt” file in the Backdrops folder for more details. Note that you should use separate backdrops for folded vs. unfolded states.
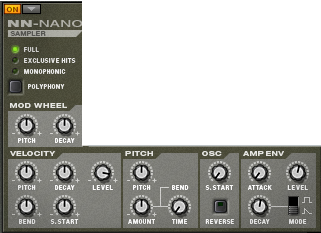
REX files are music loops created in the ReCycle program or when editing audio clips inline in Reason (see “Bounce Clip to REX Loop”). The NN-Nano lets you load separate slices from REX files as individual samples.
See “NN-Nano Sampler” for details.
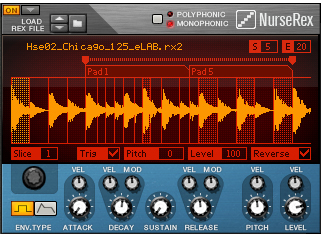
REX files are music loops created in the ReCycle program or when editing audio clips inline in Reason (see “Bounce Clip to REX Loop”).
See “Nurse Rex Loop Player” for details.
Loading a sample will automatically open it in an NN-Nano Sampler module (see “NN-Nano Sampler”) and loading a REX file will automatically open it in a Nurse Rex Loop Player module (see “Nurse Rex Loop Player”).
|
4.
|
These parameters are described in “The Drum Control Panel”. Note that the Drum Control Panel parameters are “global” for each Drum channel. Each drum sound can consist of a number of different sound and FX modules, each with their separate set of parameters. Refer to “The Drum modules”, “The Support Generator modules” and “The FX modules” for details about all the modules that can be used to build up a complete Drum sound.
Note however, that you don’t necessarily need to save the Drum patch - all settings are included when you save a Kong Kit Patch (see “Saving Kit Patches”) and/or your song.
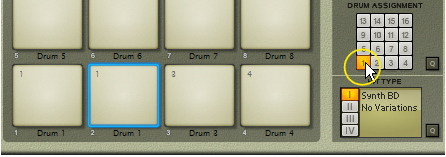
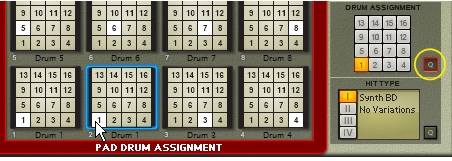
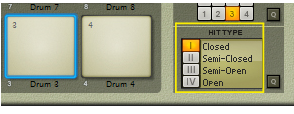
Kong features 16 pads and 16 Drum channels, as described earlier. Each pad can control a separate Drum sound channel. You can also assign several pads to control a single Drum sound channel. This is especially useful if you want to apply different settings, like Hit Types (see “Assigning Hit Type to Pads”), for each pad so that the controlled Drum sound channel responds differently. By default the 16 pads are assigned to their corresponding Drum sound channel; Pad 1 to Drum 1 and so on. If you want to change this assignment, proceed as follows:
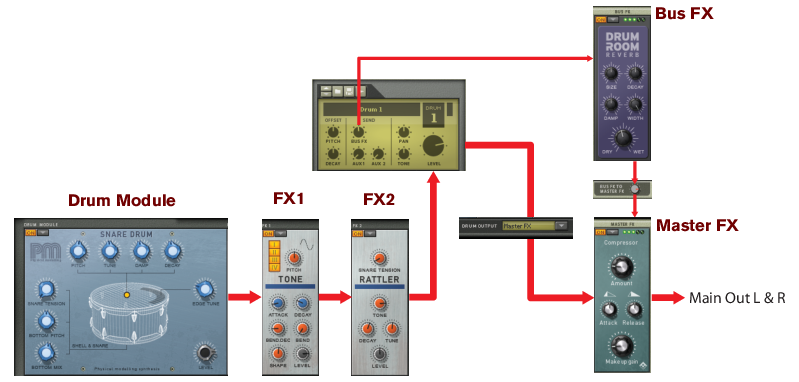
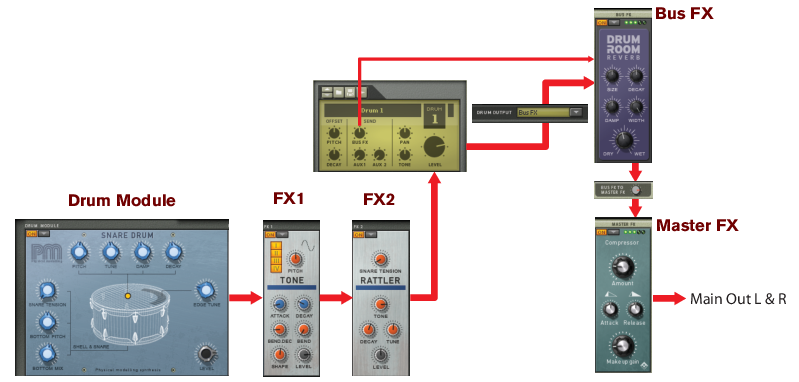
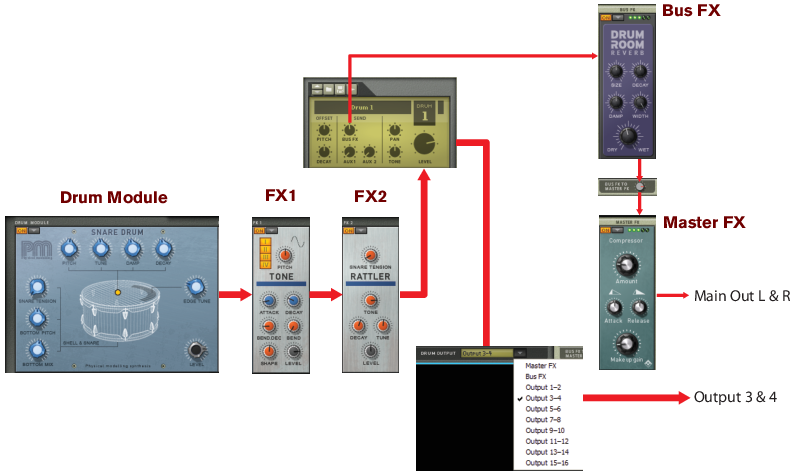
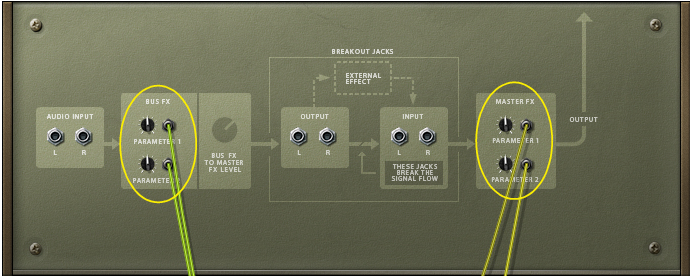
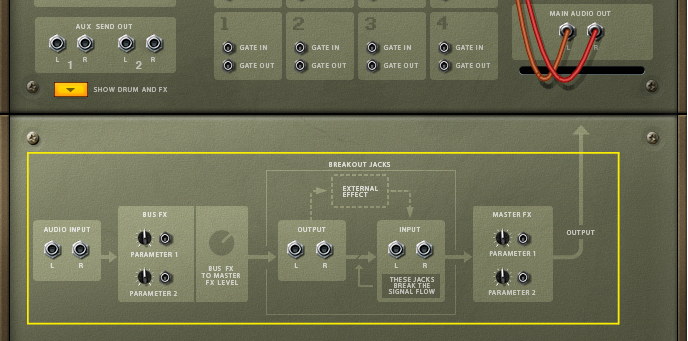
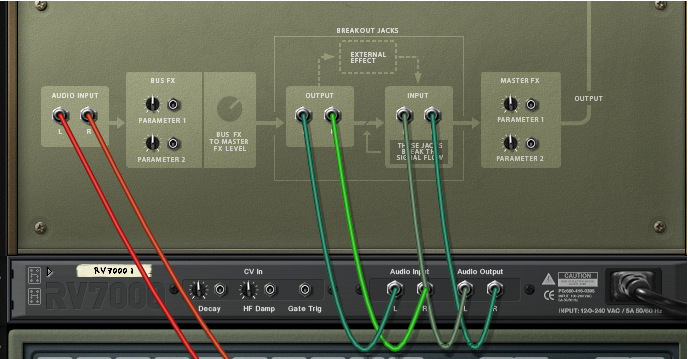
The output signal from a Drum module is sent via the FX1 and FX2 Slots to the Bus FX, Master FX or to a pair of the individual outputs on the back of the Kong panel. There is also an internal Bus FX Send that can be used to send an audio signal from the Drum via the FX1 and FX2 Slots to the Bus FX. The Bus FX Slot can the hold e.g. a reverb module which can be used a send effect for all the Drum channels. As an extra bonus, you can also hook up an external effect device between the Bus FX and Master FX Slots, see “Using external effects with Kong”.
Depending on current Drum Output setting, the effect will be a little different - see the examples in “Signal flow”.
|
•
|
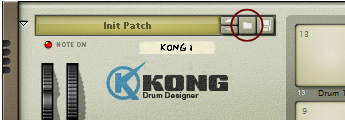
Loading and Saving Kong Drum patches (“.drum”) are done in the same way as with any other Reason device - see “Creating a new Kit Patch”, “Loading patches” and “Saving patches”.
It’s also possible to load samples and REX loops in the Drum Control Panel section. Loading a sample will automatically open it in an NN-Nano Sampler module (see “NN-Nano Sampler”) and loading a REX file will automatically open it in a Nurse Rex Loop Player module (see “Nurse Rex Loop Player”).
The sampling procedure is the same for all devices that can sample (Kong, NN-19, NN-XT and Redrum). The sampling and sample editing procedures are described in detail in the “Sampling” chapter.
Refer to the “Sampling” chapter for details on how to set up and use the sampling feature.
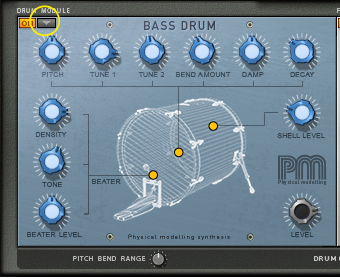
the following Drum Module types can be selected: NN-Nano Sampler, Nurse Rex Loop Player, Physical Bass Drum, Physical Snare Drum, Physical Tom Tom, Synth Bass Drum, Synth Snare Drum, Synth Tom Tom and Synth Hi-Hat. See “The Drum modules” for details about each Drum module.
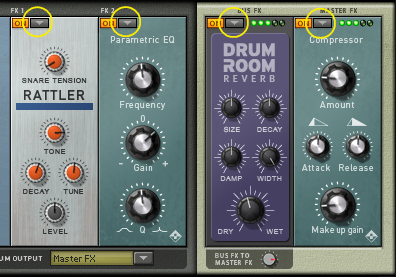
the following module types can be selected for the FX 1 and FX 2 Slots: Noise generator, Tone generator, Room Reverb, Transient Shaper, Compressor, Filter, Parametric EQ, Ring Modulator, Rattler, Tape Echo and Overdrive/Resonator. See “The Support Generator modules” and “The FX modules” for details about each module type.
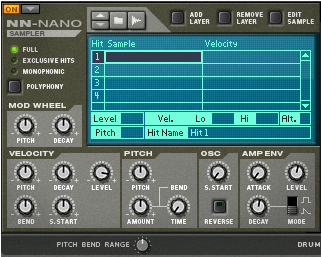
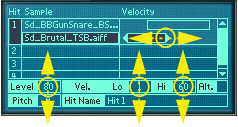
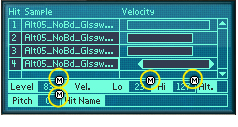
The NN-Nano can handle samples or sets of samples for each of the four different Hit Types described in “Assigning Hit Type to Pads”. Each Hit Type can contain one or several samples which can be layered and/or altered and controlled individually via velocity.
|
2.
|
REX files are music loops created in the ReCycle program or when editing audio clips inline in Reason (see “Bounce Clip to REX Loop”). The NN-Nano lets load separate slices from REX files as individual samples.
|
|
The sampling procedure is generic for all devices that can sample (Kong, NN-19, NN-XT and Redrum). The sampling and sample editing procedures are described in detail in the “Sampling” chapter.
Refer to the “Sampling” chapter for details on how to set up and use the sampling feature.
If you click the Edit Sample button with a sample selected in the display, the sample will open in the generic Edit Sample window. In this window you can edit the sample and save as a self-contained Song Sample. See “The Edit Sample window” in the Sampling chapter for details about editing samples.
|
•
|
|
•
|
|
•
|
|
•
|
|
•
|
Edit the Hit Name if you like by clicking in the Hit Name box, typing in a new name and then pressing [Enter]. The name will appear in the Hit Type display on the main panel (see “Assigning Hit Type to Pads”).
|
•
|
|
•
|
|
•
|
|
•
|
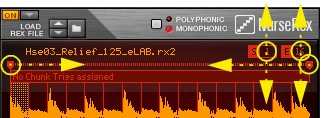
The Nurse Rex can load standard REX files and play back the loops and/or slices in a variety of ways depending on the selected Hit Type (see “Assigning Hit Type to Pads”).
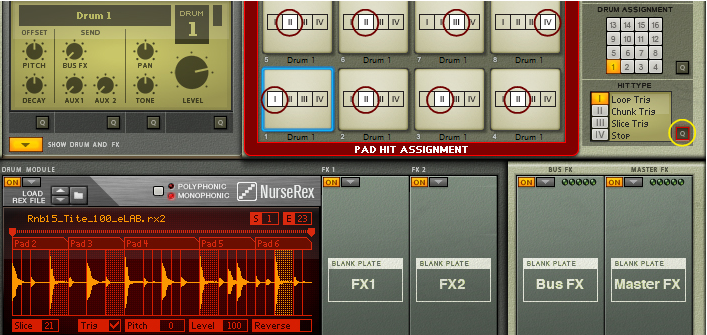
In Loop Trig mode, you trigger the REX loop to play one single cycle every time you hit the assigned pad. Loop Trig can also be used together with the “Stop” mode on another pad to immediately stop the loop playback, see “Stop” below.
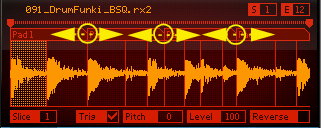
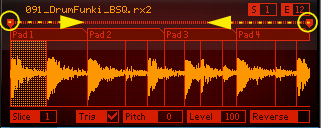
In Chunk Trig mode, you can assign several pads to play back shorter sections - chunks - of the REX loop. The number of chunks is determined by the number of pads you have assigned to the REX loop using the Chunk Trig Hit Type. The chunks are distributed in equal sections across the REX loop. Chunk Trig can also be used together with the “Stop” mode on another pad to immediately stop the chunk playback, see “Stop” below.
|
•
|
|
•
|
Click the Trig check box for the slices you want to alternate between using the Slice Trig Hit Type.
|
•
|
|
•
|
|
•
|
On the Nurse Rex panel you can edit parameters that are common to all slices in the loaded REX loop:
|
•
|
|
•
|
|
•
|
|
•
|
This controls the overall output level of the Drum module to the FX1 and FX2 Slots (see “Signal flow”). The Level is also affected by velocity.
|
•
|
|
•
|
|
•
|
This controls the head tuning when Hit Type 4 (Edge Hit) is selected for the pad (see “Assigning Hit Type to Pads”).
|
•
|
This controls the overall output level of the Drum module to the FX1 and FX2 Slots (see “Signal flow”). The Level is also affected by velocity.
|
•
|
|
•
|
|
•
|
|
•
|
|
•
|
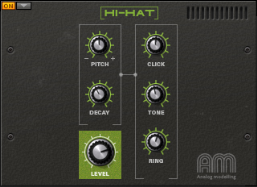
This controls the overall output level of the Synth Hi-hat module to the FX1 and FX2 Slots (see “Signal flow”). The Level is also affected by velocity.
|
•
|
|
•
|
|
•
|
These buttons allow you to choose for which Hit Type(s) the Noise generator should be active. By default, the Noise generator is active for all Hit Types (see “Assigning Hit Type to Pads”).
|
•
|
|
•
|
|
•
|
|
•
|
|
•
|
|
•
|
|
•
|
These buttons allow you to choose for which Hit Type(s) the Tone generator should be active. By default, the Tone generator is active for all Hit Types (see “Assigning Hit Type to Pads”).
|
•
|
|
•
|
|
•
|
|
•
|
|
•
|
|
•
|
|
•
|
|
•
|
|
•
|
|
•
|
|
•
|
|
•
|
|
•
|
|
•
|
|
•
|
|
•
|
|
•
|
|
•
|
|
•
|
|
•
|
|
•
|
|
•
|
|
•
|
|
•
|
|
•
|
|
•
|
|
•
|
|
•
|
|
•
|
|
•
|
|
•
|
|
•
|
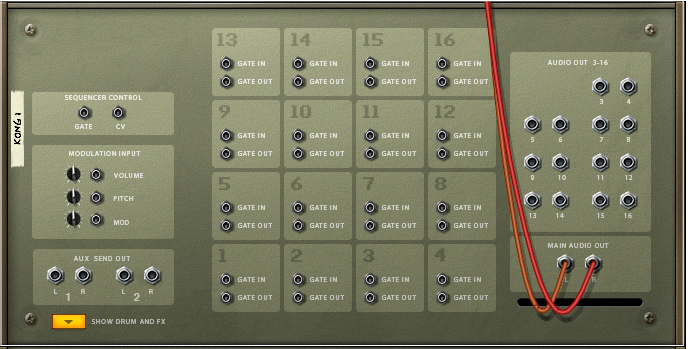
On the back panel of Kong are a number of connectors. Many of these are CV/Gate related. Using CV/Gate is described in the chapter “Routing Audio and CV”.
|
•
|
|
•
|
|
•
|
The two stereo Aux Send Outputs can be used for connecting external effect devices for external signal processing. The signal levels to these Aux Send Outputs are controlled from the Aux 1 and Aux 2 Send knobs on the Drum Control Panel, see “The Drum Control Panel”.
There are 14 separate audio output jacks on Kong’s back panel - arranged as seven separate stereo pairs. These outputs are never auto-routed but can be manually connected and selected as individual outputs for any of the Drum channels by using the Drum Output selector in the Drum and FX section, see “Signal flow”.
|
3.
|
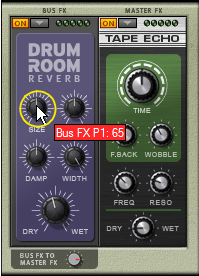
Select suitable FX devices for the Bus FX and Master FX slots in Kong according to the descriptions in “The FX modules” and tweak the parameters to your liking.
|
|
|
